Viewing Notice: The abstract and chuunibyou sections were written by DeepSeek R1, which has even more outrageous content.
- “Introduction to ISP Forging: Crafting Your ‘Genshin Vision’ RAW Processor from Scratch”
- “Doctor, You Won’t Even Call Me an ISP: The Three Primaries and the Foolish Hero’s Set”
- “Pixel Engineer Training Day 1: How to Make Wild RAW RGB Bow Down to Humanity’s Colour Tyranny”
§0. Prologue: The Hero’s Awakening—Finding an “ISP Beginner’s Guide” in the Pixel Wasteland
The ISP (Image Signal Processor) is responsible for converting the RAW image output by the sensor into an image that can be displayed on the screen. This typically involves various colour space conversions, processing, and mapping.
This series will start from the most basic ISP, gradually adding modules to address encountered issues and improve image quality.
Next, we will implement the most fundamental two-step ISP to acquire our initial weapon.
§1. The Ideal RAW Image
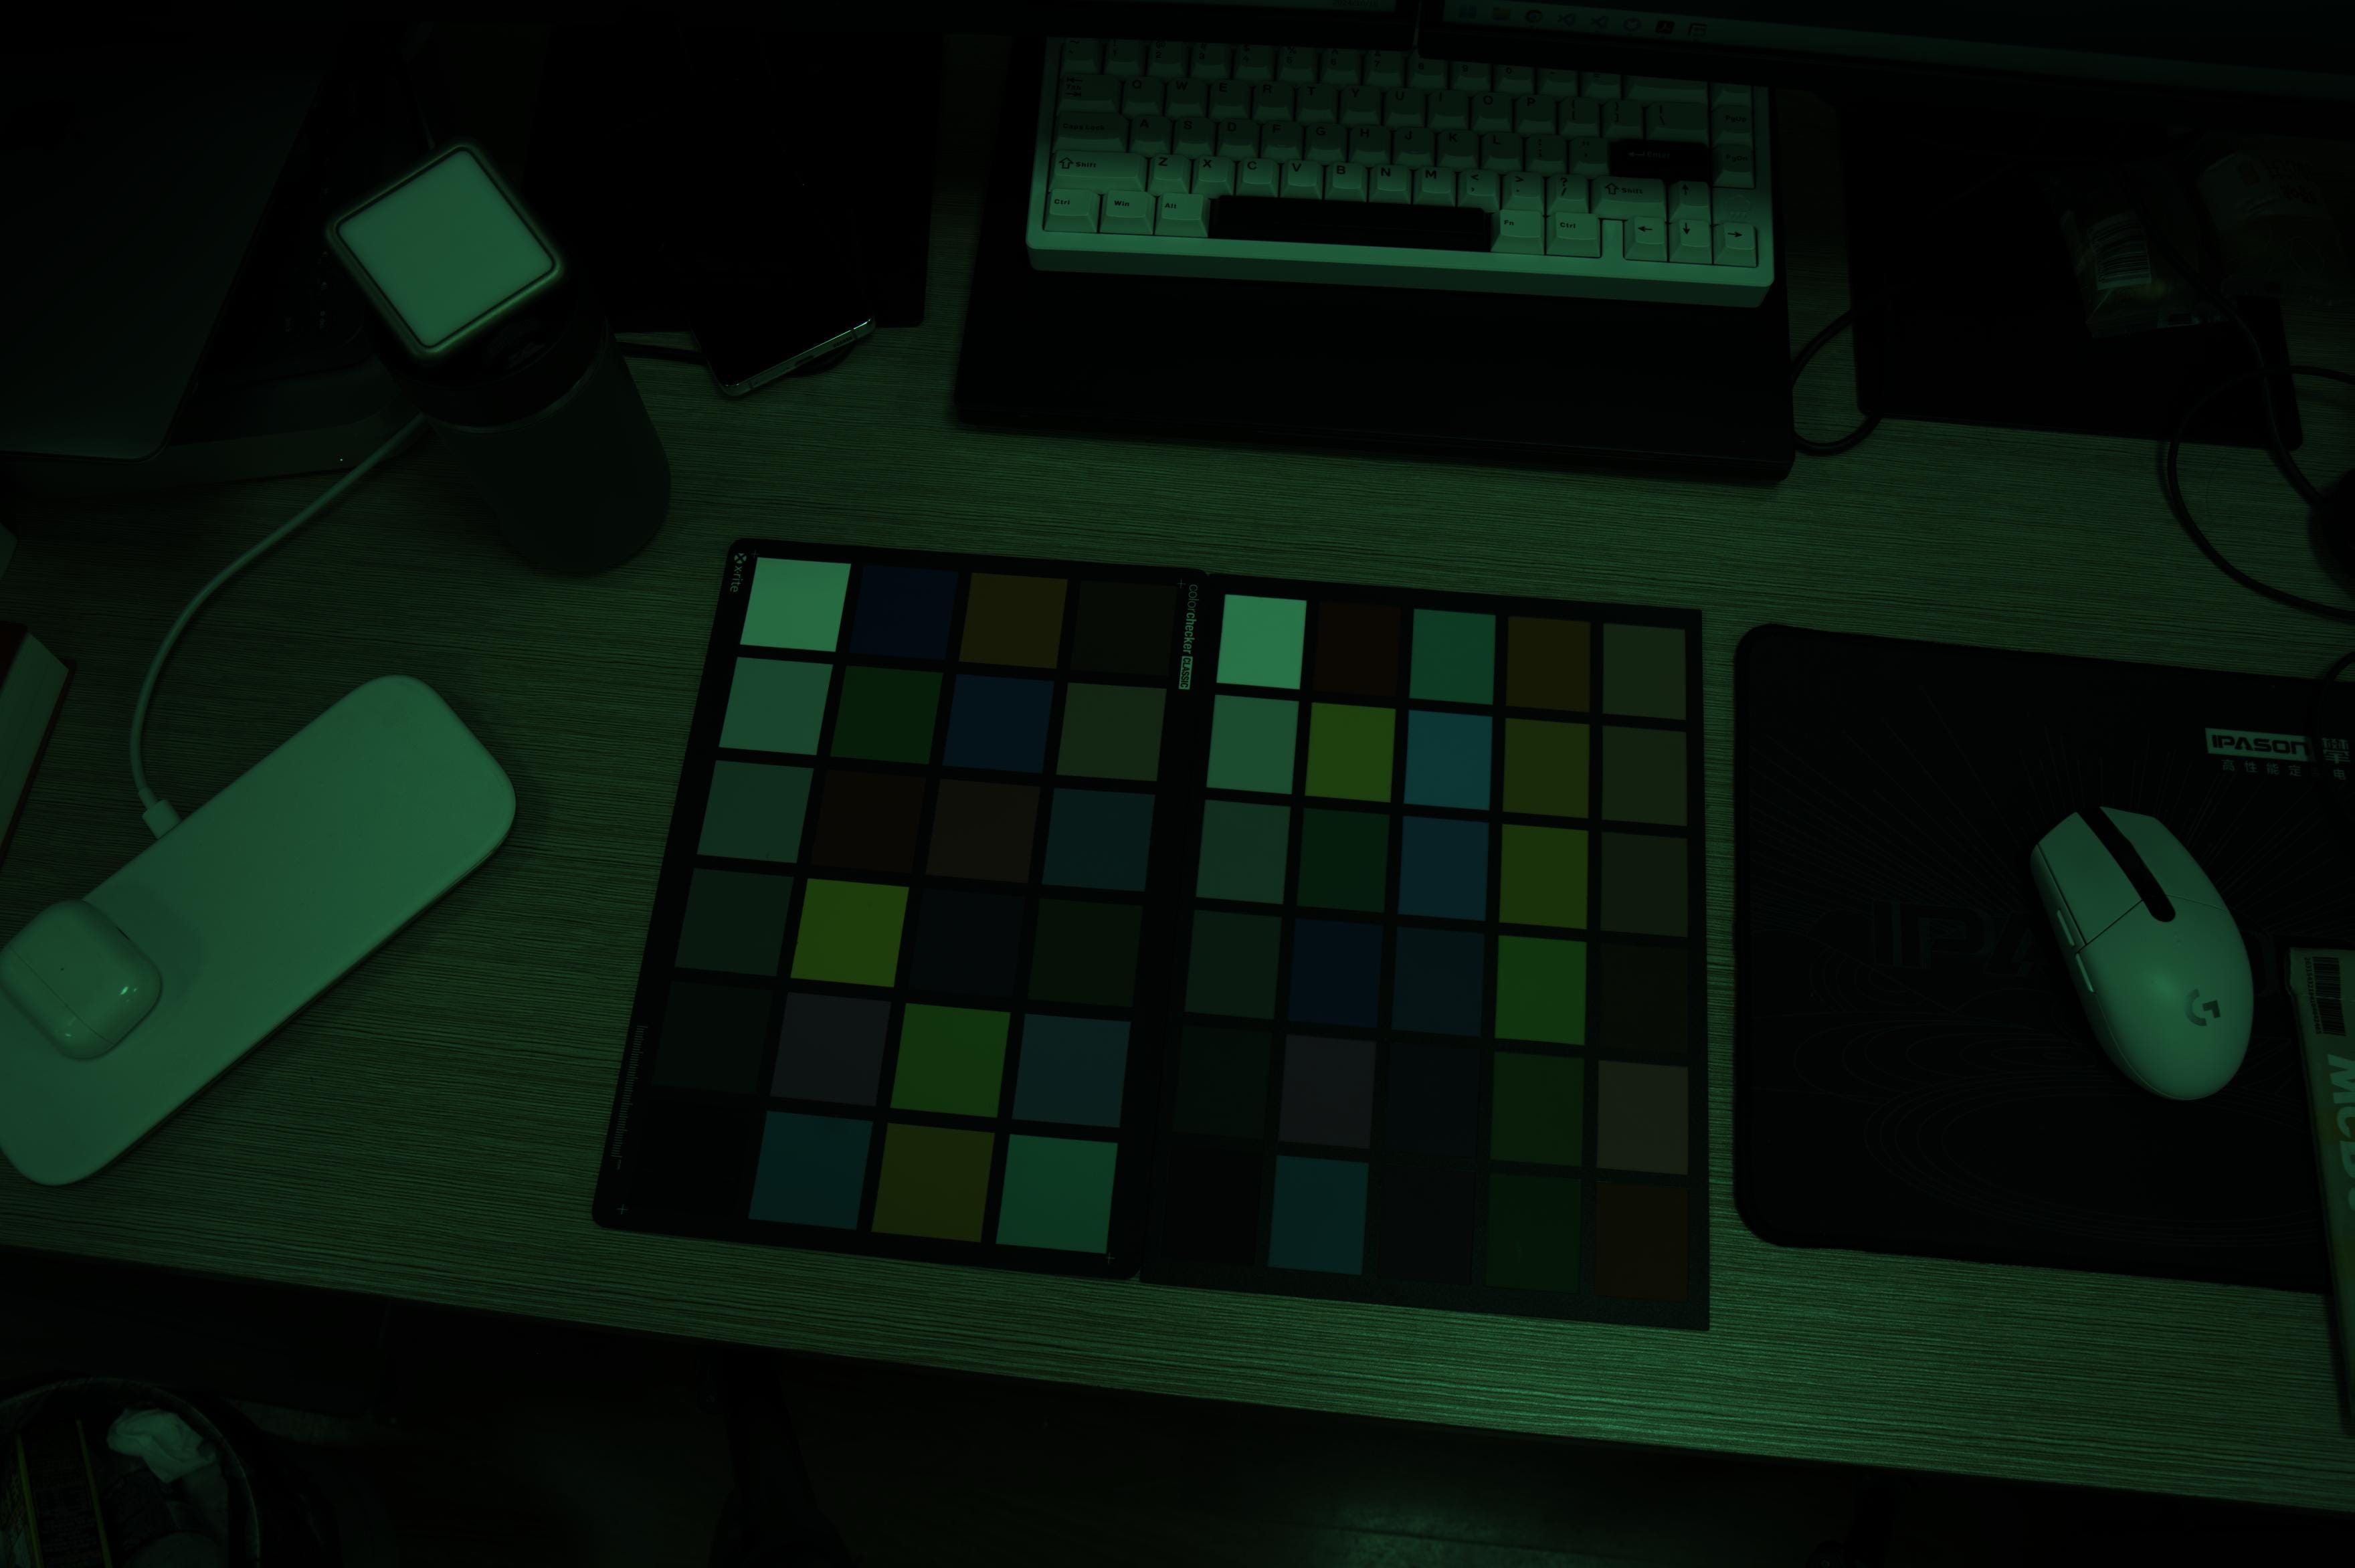
The ideal starting point is a three-channel image with values ranging from 0 to 1, where 0 represents no input and 1 represents the sensor’s saturation value. However, the RAW image output by the camera contains black level compensation, has not been demosaiced, and is encoded in the camera manufacturer’s proprietary format.
Fortunately, there are many open-source tools available to help us with this pre-processing, such as dcraw and libraw. Rawpy is a Python wrapper around LibRaw, and with the following code, we can read a RAW image as an ideal numpy array:
def read_raw_image(path):
    with rawpy.imread(path) as raw:
        rgb = raw.postprocess(
            gamma=(1, 1),
            output_bps=16,
            use_auto_wb=False,
            use_camera_wb=False,
            user_wb=[1, 1, 1, 1],
            output_color=rawpy.ColorSpace.raw,
            no_auto_bright=True,
            half_size=True,
        )
    rgb = rgb / 65535.0
    return rgb
Here, rgb is a three-dimensional numpy array with the shape (H, W, 3), where H and W are the height and width of the image respectively. This represents the pre-processed ideal RAW image.
If you encode this directly as an image, what you get is the “original image”.
§2. From RAW RGB to XYZ
See the prequel: Colour Space Conversion: RAW and XYZ.
The CCM (Colour Correction Matrix) is a 3x3 matrix used to convert RAW RGB to XYZ.
ccm = np.array(
    [[1.297, 0.558, 0.0596],
    [0.0793, 0.569, -0.1675],
    [0.1033, -0.1577, 1.2465]]
)
cameraRGB_2D = cameraRGB.reshape(-1, 3)
XYZ_2D = np.dot(cameraRGB_2D, ccm)
XYZ = XYZ_2D.reshape(cameraRGB.shape)
The two reshape steps here are for performing matrix multiplication. If further operations are needed later, you can temporarily retain the vector form.
At this point, the resulting XYZ is an estimate of the tristimulus values under the shooting environment. Thus, we have converted from the camera’s unique spectral response to a unified colour space. This operation does not take into account the absolute values of the tristimulus values; if you need to adjust the overall luminance, operating on XYZ is quite reasonable, such as multiplying by a factor to simulate exposure compensation.
§3. From XYZ to sRGB
See the prequel: Colour Space Conversion: XYZ and sRGB.
M_XYZ2sRGB = np.array(
    [[3.2406, -1.5372, -0.4986],
     [-0.9689, 1.8758, 0.0415],
     [0.0557, -0.2040, 1.0570]]
)
sRGB_linear_2D = np.dot(XYZ_2D, M_XYZ2sRGB.T)
sRGB_linear = sRGB_linear_2D.reshape(cameraRGB.shape)
sRGB_linear_clipped = np.clip(sRGB_linear, 0, 1)
sRGB = np.where(
    sRGB_linear_clipped <= 0.0031308,
    12.92 * sRGB_linear_clipped,
    1.055 * np.power(sRGB_linear_clipped, 1 / 2.4) - 0.055,
)
These operations include colour space conversion and the OETF (opto-electronic transfer function), converting XYZ to sRGB space. sRGB is a three-channel image in the 0–1 range and can be displayed directly on a screen. Note that before applying the OETF, the linear space sRGB_linear must be constrained to the 0–1 range. This step effectively clips any out-of-gamut colours directly, ensuring absolute colour reproduction within the gamut—a simplest form of gamut mapping.
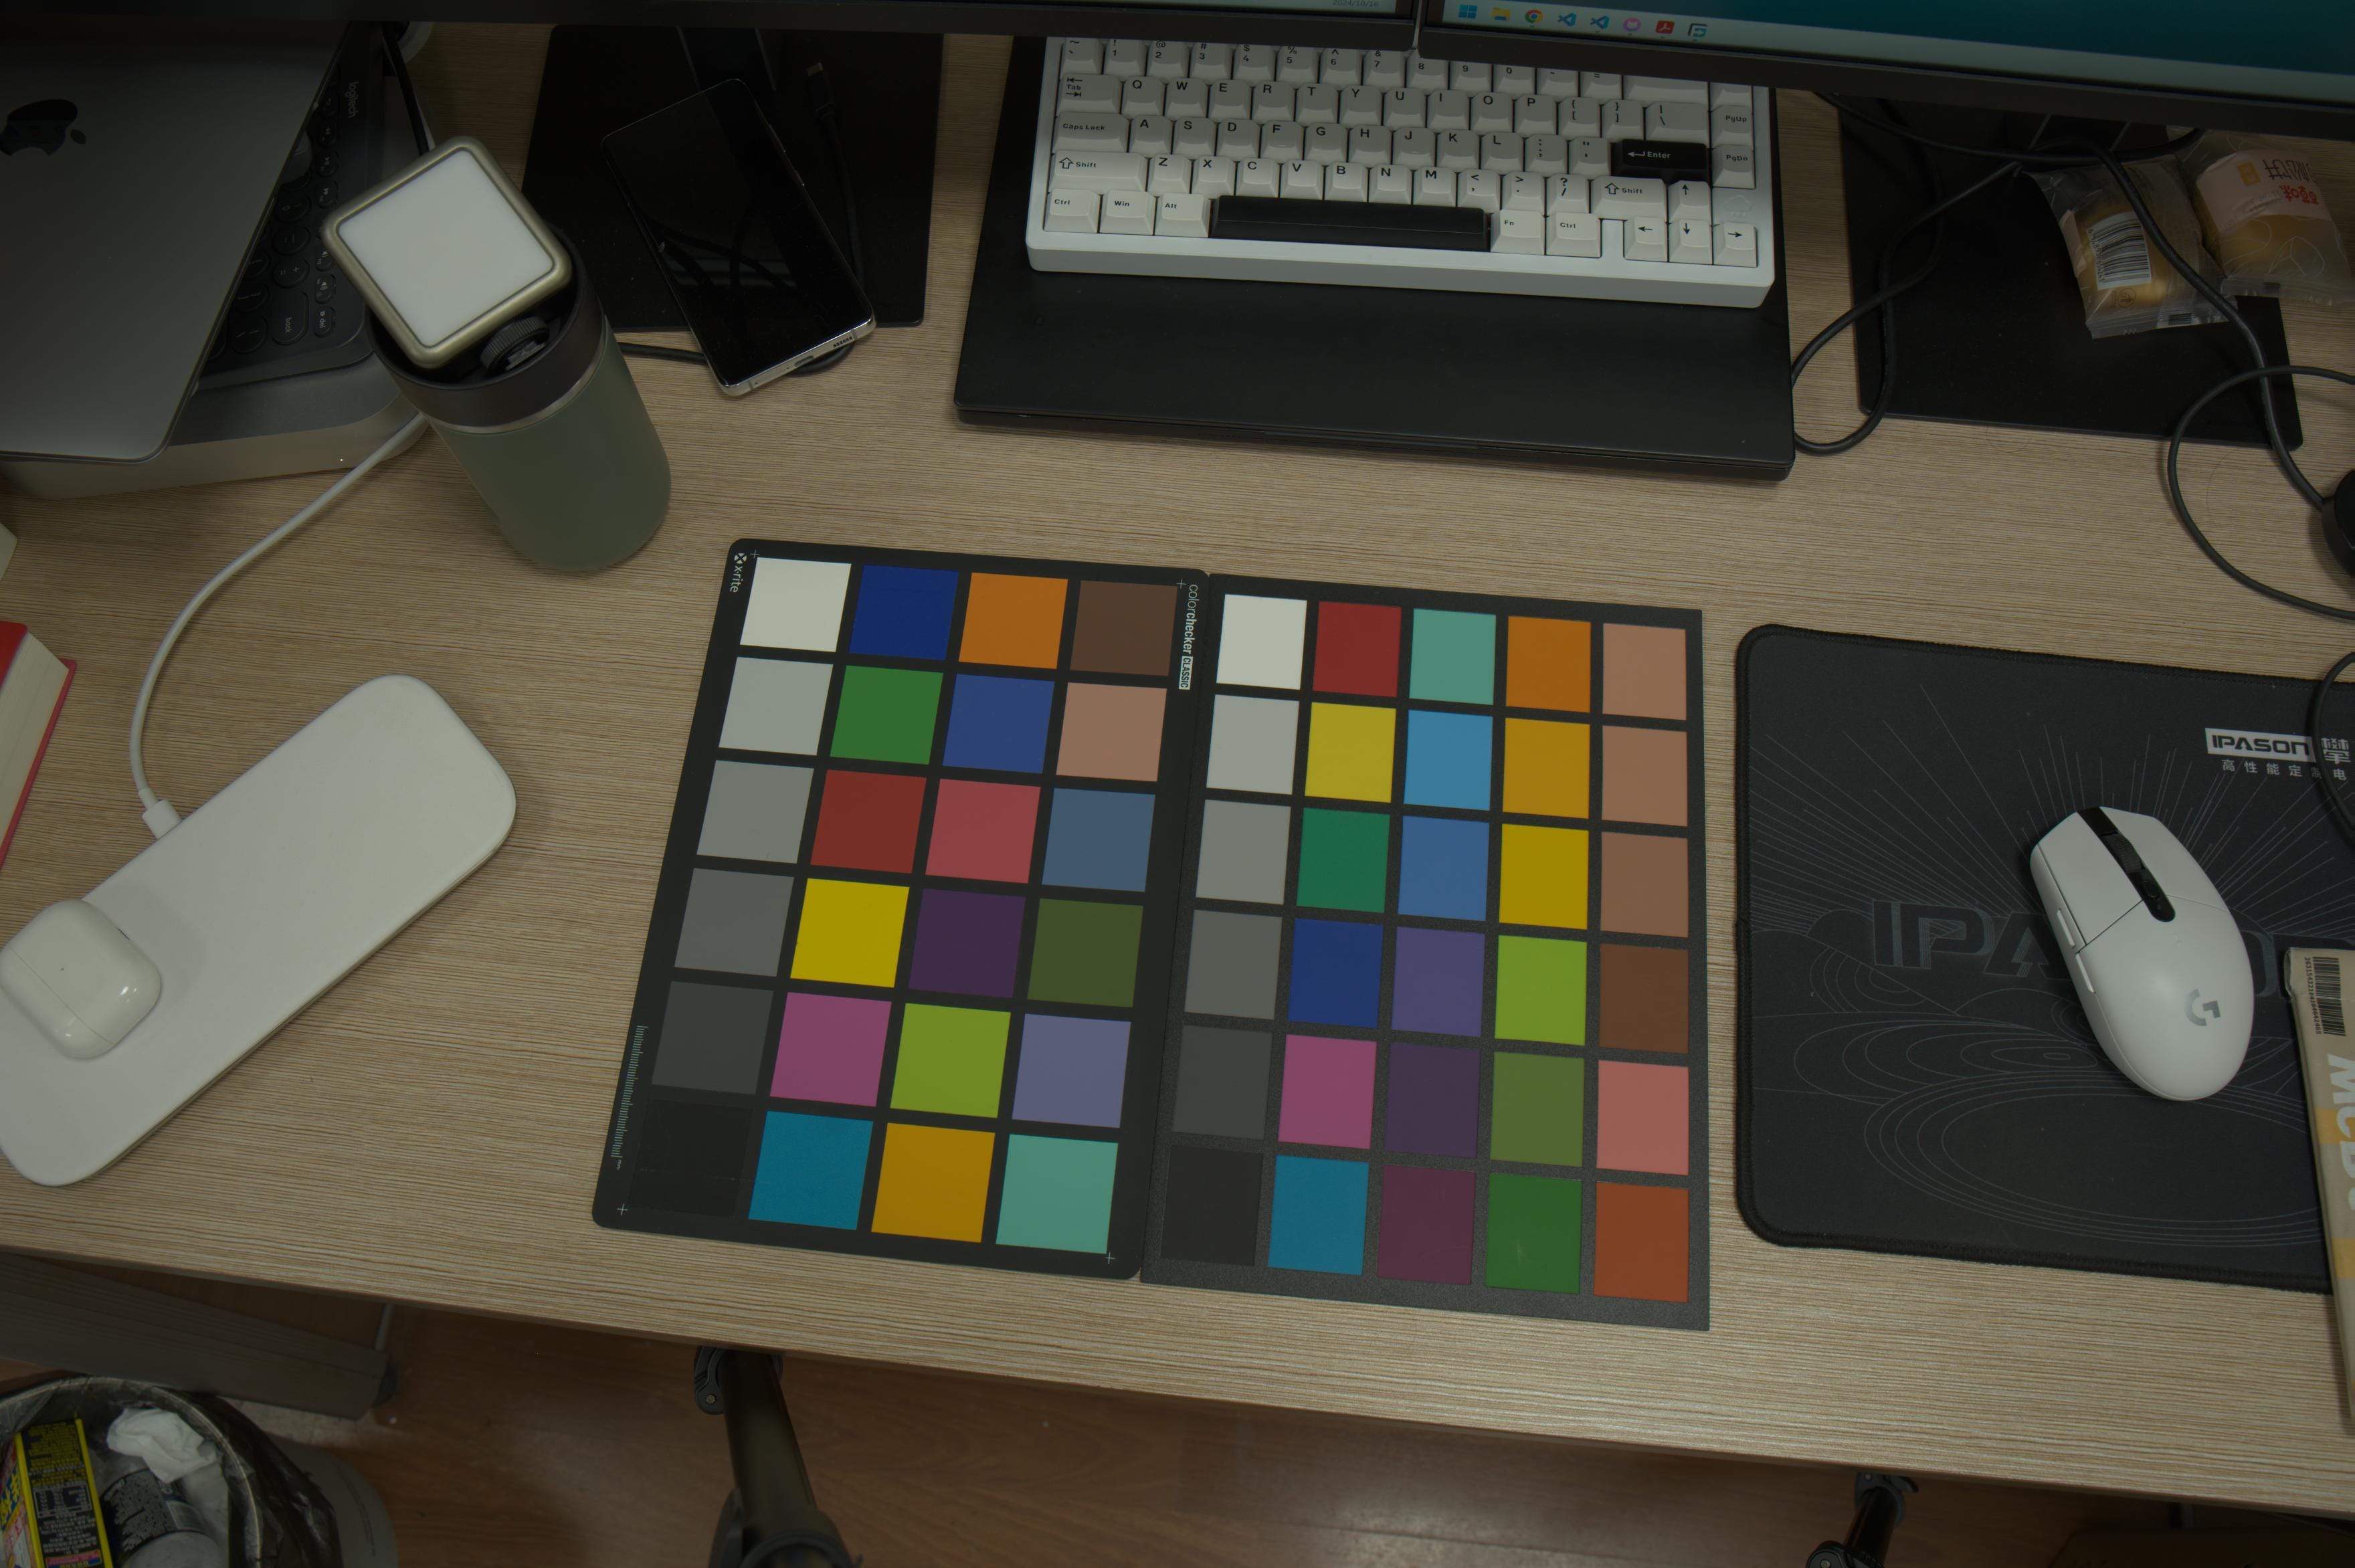
§4. Initial Weapon Forging Report
At this point, we have completed the most basic ISP. Although simple, the key point is that every step is supported by colour science theory.
To demonstrate how fragile this ISP is, let’s light this lamp and encounter the first problem.
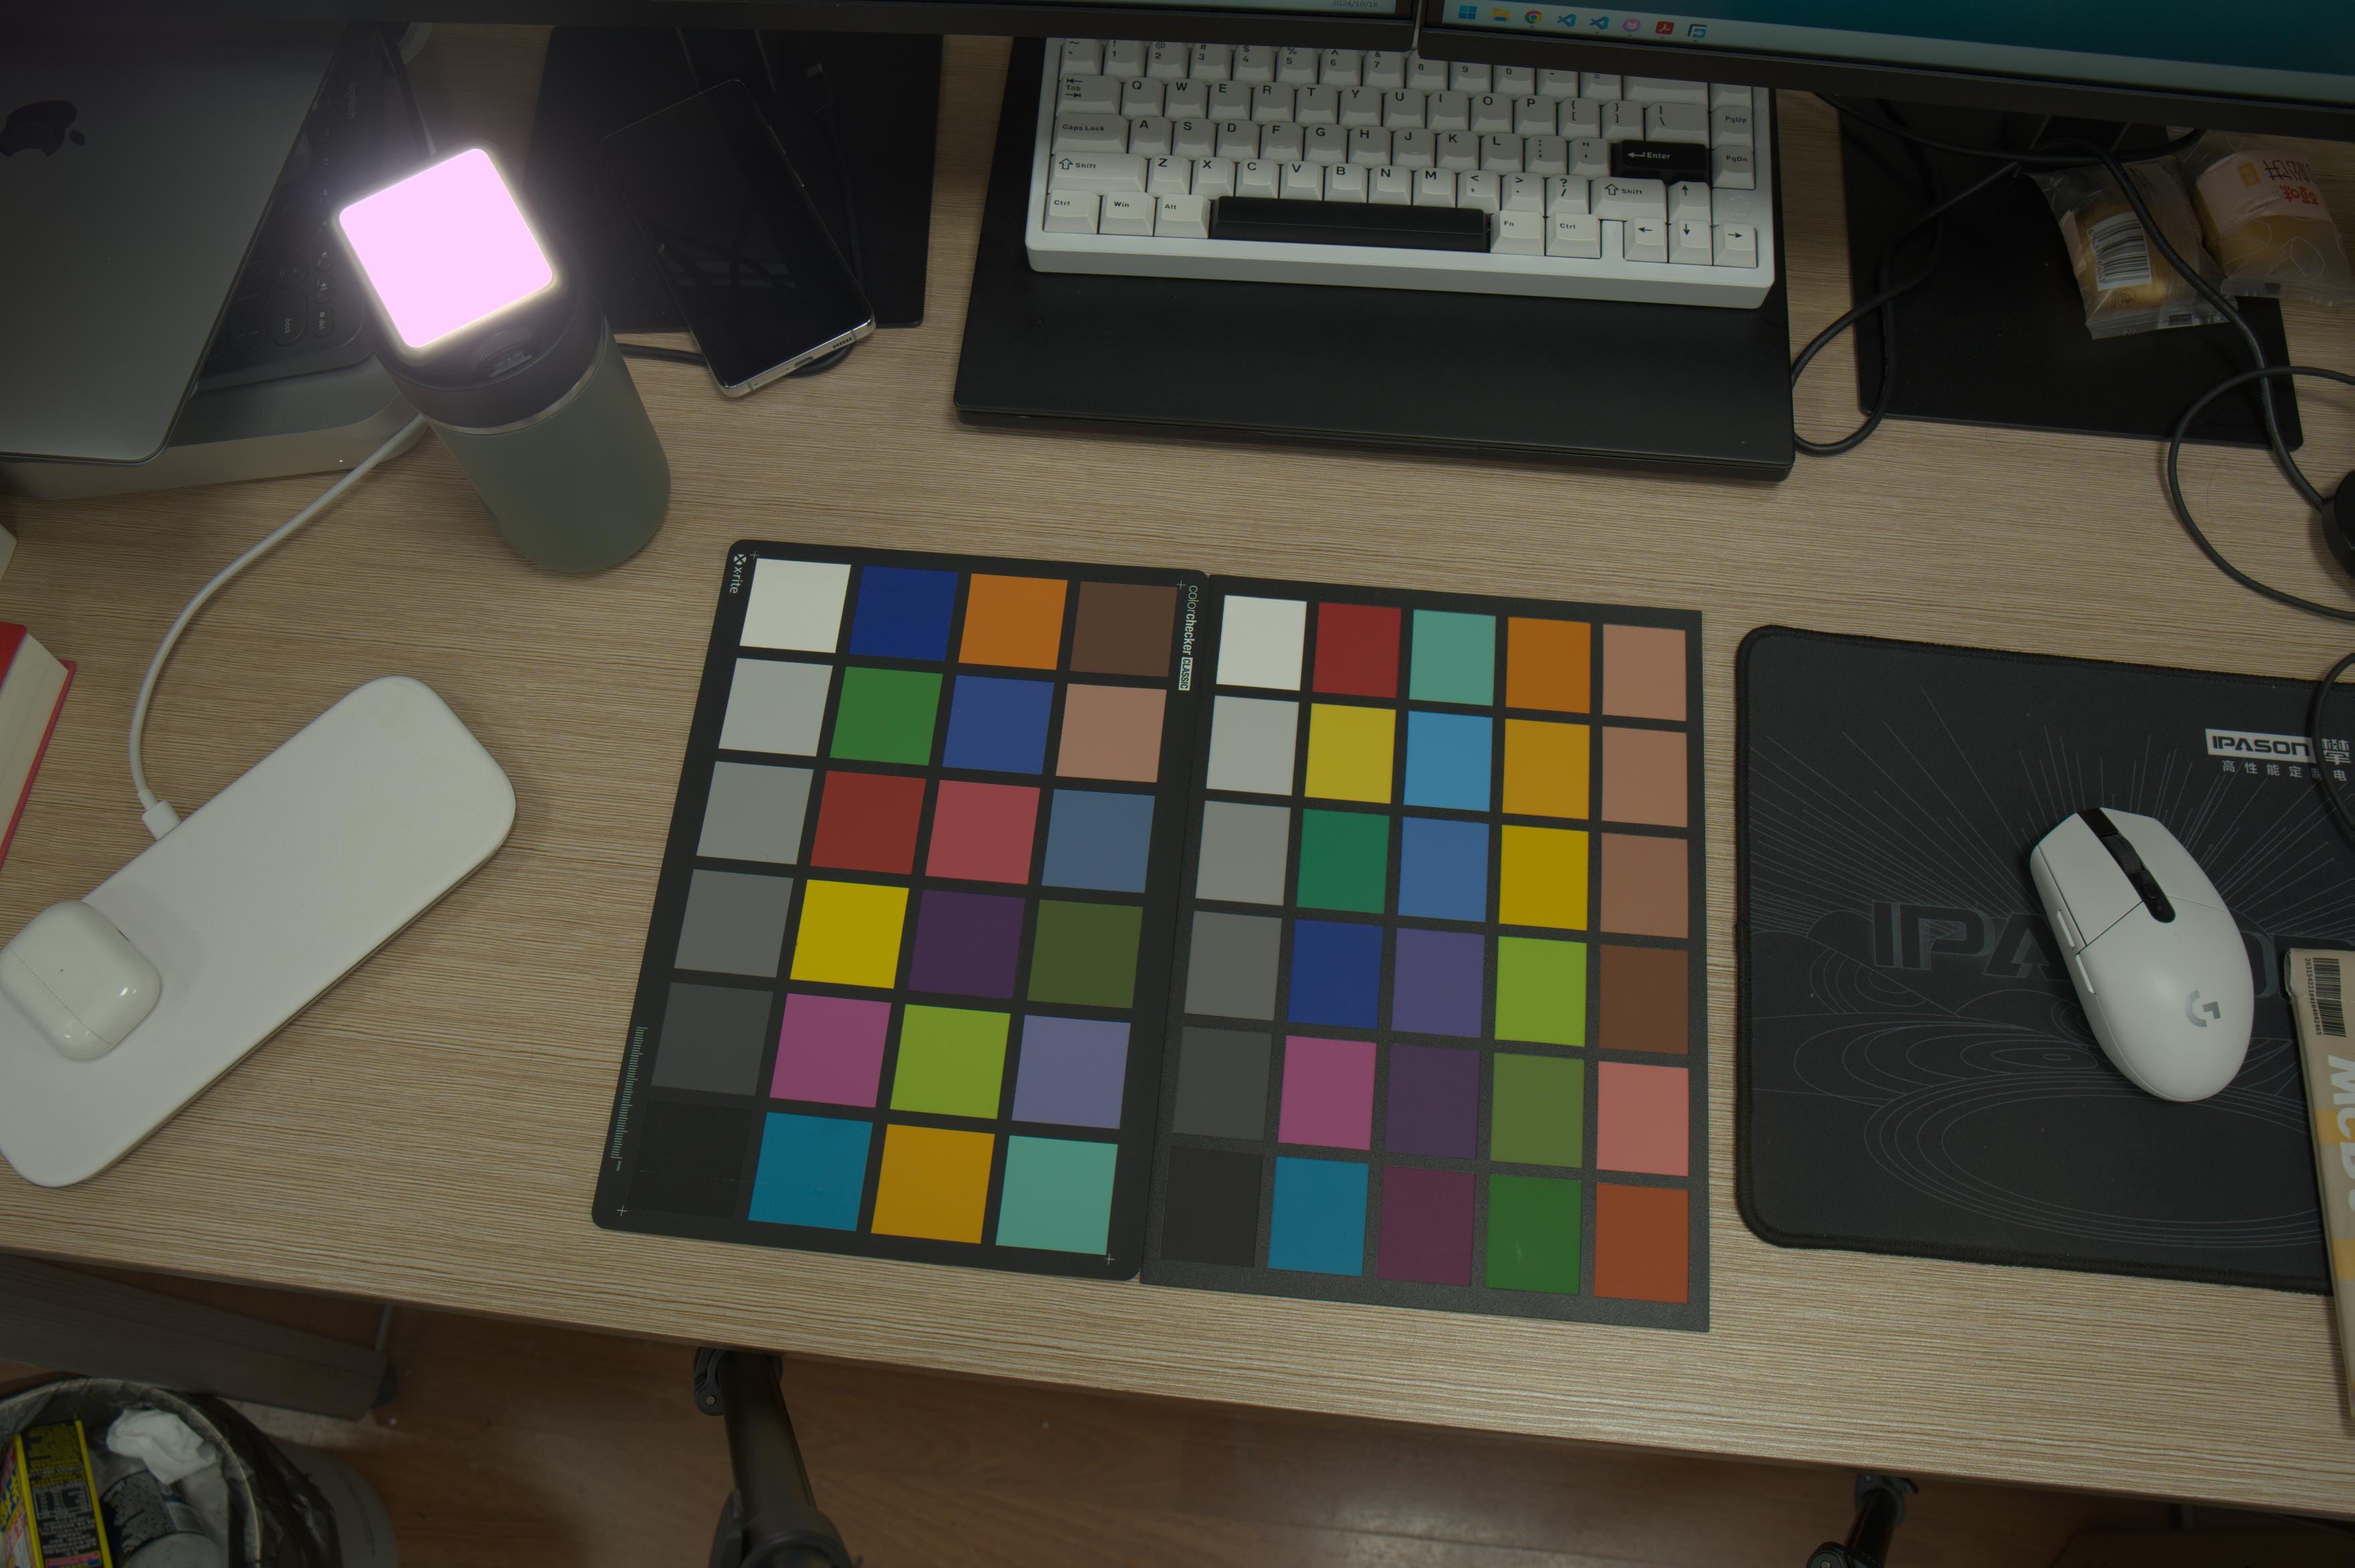
Highlight overflow: When the sensor’s saturation value is exceeded, the sensor records it as (1, 1, 1). After processing with the initial version of the ISP, such a pixel becomes (1, 0.8, 1) and appears pink. A simple and crude solution is to detect saturated pixels in cameraRGB; if any are found, simply display them as white.
In the future, we will supplement the omitted modules from this initial version, resolve the various issues encountered, and gradually improve image quality.